How to draw an ice cream cone, step by step
Six simple steps · best for ages 3–6 · free to print
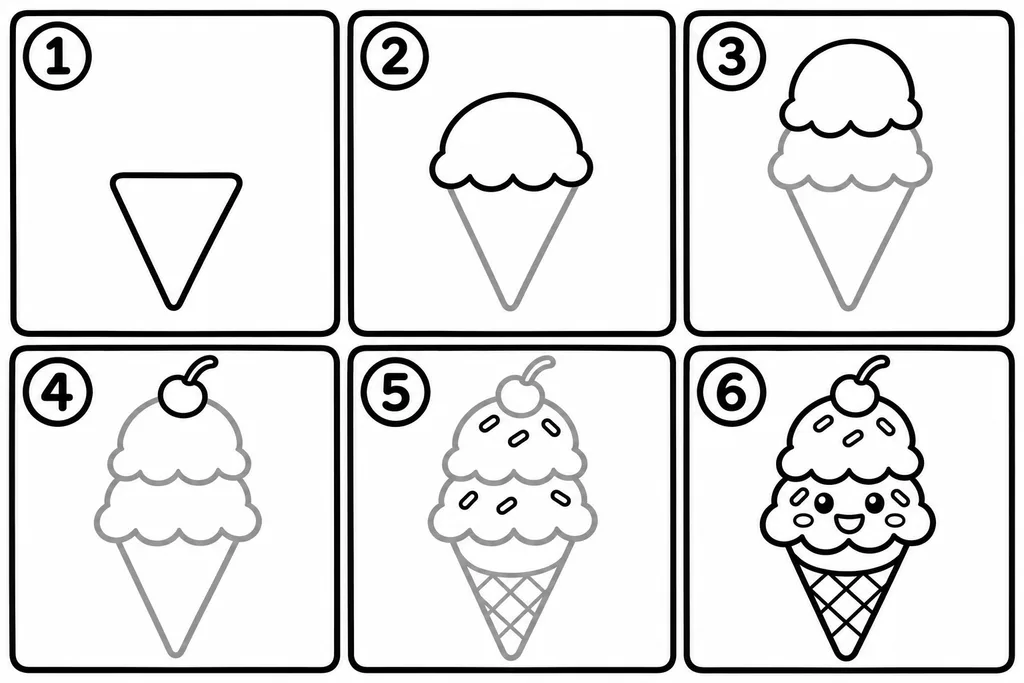
The steps in words
- Draw an upside-down triangle with the point at the bottom. This is the cone.
- Above the cone, draw a round dome with a wavy edge. This is the scoop.
- Above the scoop, draw another dome just like it: the second scoop.
- On the top scoop, draw a round cherry with a curved stem.
- Add little sprinkles on the ice cream and diagonal squares on the cone.
- Draw eyes, cheeks and a smile on the bottom scoop, then go over everything in black.
Tip: Each scoop can be a different flavor. Color one pink and one brown, and add as many sprinkles as you like.
🍦 Ice cream coloring pages, ready to color
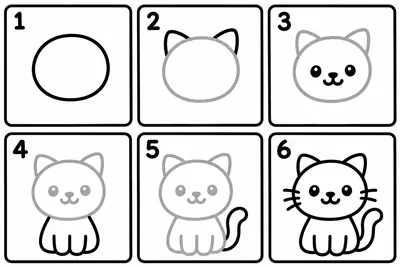
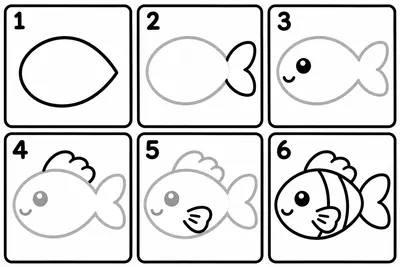
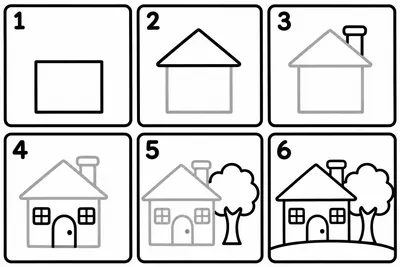
More step-by-step drawings



Frequently asked questions
How many steps does it take to draw an ice cream cone?
Six steps. The first: Draw an upside-down triangle with the point at the bottom. This is the cone. The last: Draw eyes, cheeks and a smile on the bottom scoop, then go over everything in black.
What age is the ice cream drawing for?
It suits kids aged 3–6 best. Each scoop can be a different flavor. Color one pink and one brown, and add as many sprinkles as you like.
How do I print the page?
Press "Print or download PDF". The page opens in an A4 preview, ready to print or save as a PDF. On US Letter paper, choose "Fit to page" in the print settings.
Explore more: All how-to-draw pages, Ice cream coloring pages, Coloring pages, and Color by number.